

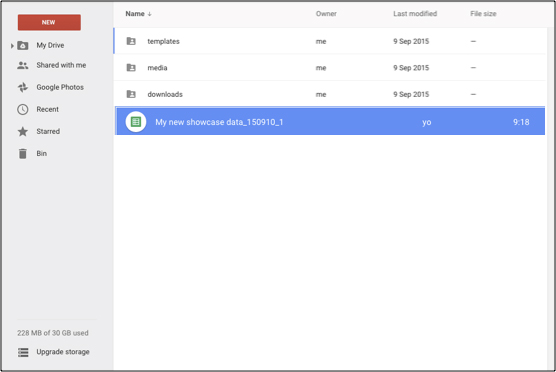
Once you create a Google Sheet have to go to your drive account and locate the new spreadsheet. It will be in the root directory and be named: My new showcase. The Google Sheet contains sample information that must be replaced by our information. We recommend that you rename the sheet to make it easier to identify.
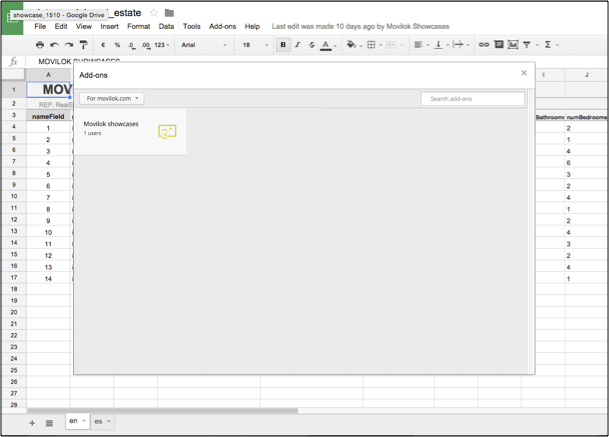
Next you must install the “complement” in the GOOGLE SHEET. This allows content generation and publication in real time. Go to the “Add-ons” menu and install the “Movilok Showcases” add-on. Then the complement will appear on the right side of the spreadsheet.
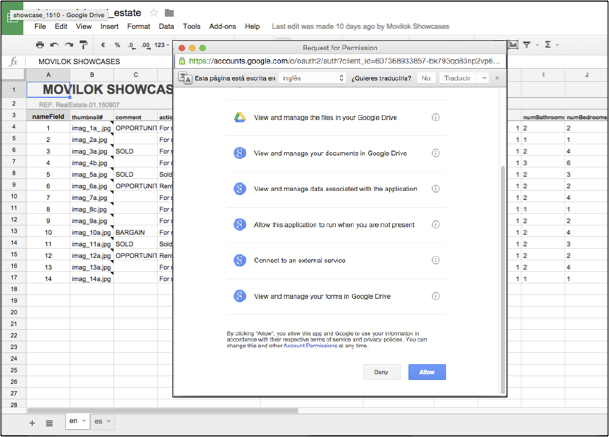
To install the addon it is necessary to accept permits requested by Google.
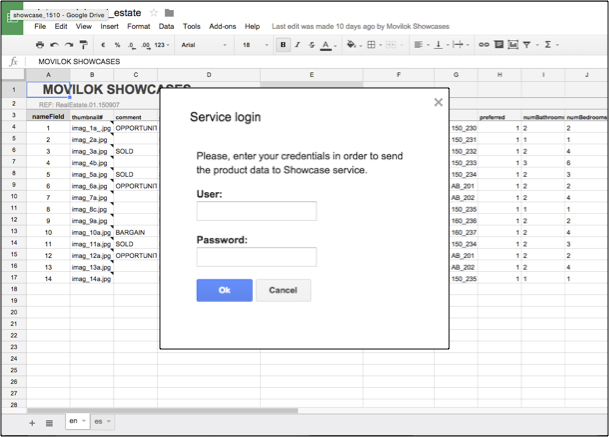
Then the user ID and the PASSWORD are requested, to associate the worksheet to the showcase.
The first time this Add-on is installed, the folder structure is created.
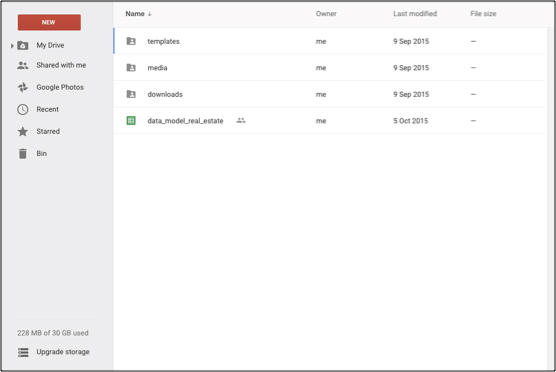
A ‘showcases’ directory at the same level as the spreadsheet will also be created in your Google Drive account . This contains directories:
- Media (directory to receive the images for the showcase, if we choose to host them on Drive)
- Downloads (directory that contains the files that the showcase reads –json or jsonp- and downloables generated by the add-on)
- Templates (directory that contain the templates file to generate downloables). In this directory the “default template” is hosted.
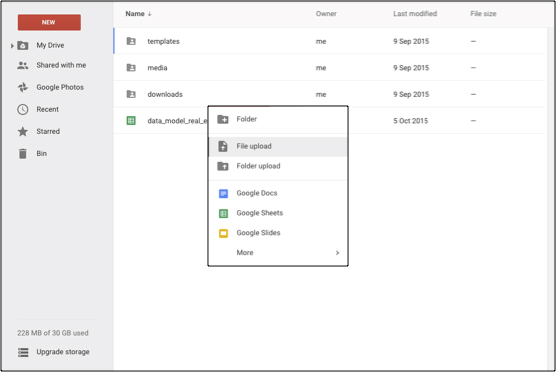
Upload the media files type (videos, images, …) to the “Media” folder. Then upload the .html or .pdf files to the ” Downloads” folder. This case is for the downloadables that are not created by the add-on. If you want the downloadables to be created by the add-on, they will be included automatically.
Complete the data in the spreadsheet. In non-numeric fields it is possible to provide additional formatting using HTML tags. In “media” fields (#) you can include a public absolute URL (when on another server) or simply the name of the files that we have included (when in the “media” directory).


- User account: User credentials for connecting to the remote service. It is used for managing data sources and automatic update window. You should have been provided with this when buying the subscription.
- Data source: The name of the data source can be changed from the add-on. The service communicates this change to the tools to configure showcases in the private area.
- Media Folder: The folder in which showcase logo and images used are searched for (if not external).
- Downloads Folder: The folder for downloadable files. Here you have to put the downloadable files for each product and it is also used to locate downloadable files generated automatically.
- Templates Folder: HTML template file for automatic generation of short products.
- Templates Folder: Here is located the default template file that is created when the add-on is installed.
- Template file: For product card generation. If you wish to generate downloadable files automatically, you must select a template.
- Showcase Logo: Shown in showcase and web client.
- Contact address: Used for product card generation.
- Email: E-mail to request contact from the client side.
- Showcase banner: Text advertising shown at the foot of the showcase, in disconnected mode.
- Showcase capabilities enable / disable features such as:
- Product brief: When checked downloading product cards is allowed.
- Online shopping: When checked connection to online shopping is allowed.
- Hide filter button: Must be checked on showcases with two information levels.
Actions:
- HTML cards: automatic generation of downloadable files for each product.
- Build data file: generates data file exchange and automatically updates the window.
IMPORTANT
If you activate the “Product brief” option, the customer can download the information available.
The reference to the downloable file must be included in “details” field. They can be absolute URLs, file names included in the media directory or, if you prefer, you can generate downloadable files based on the template provided by the tool. In that case you must select the template from those available.
Then run the option: “HTML cards“.

Downloadable files are generated in the downloads folder and the reference is included automatically in “detail” field.
To generate data format finally run “Build data File”.